

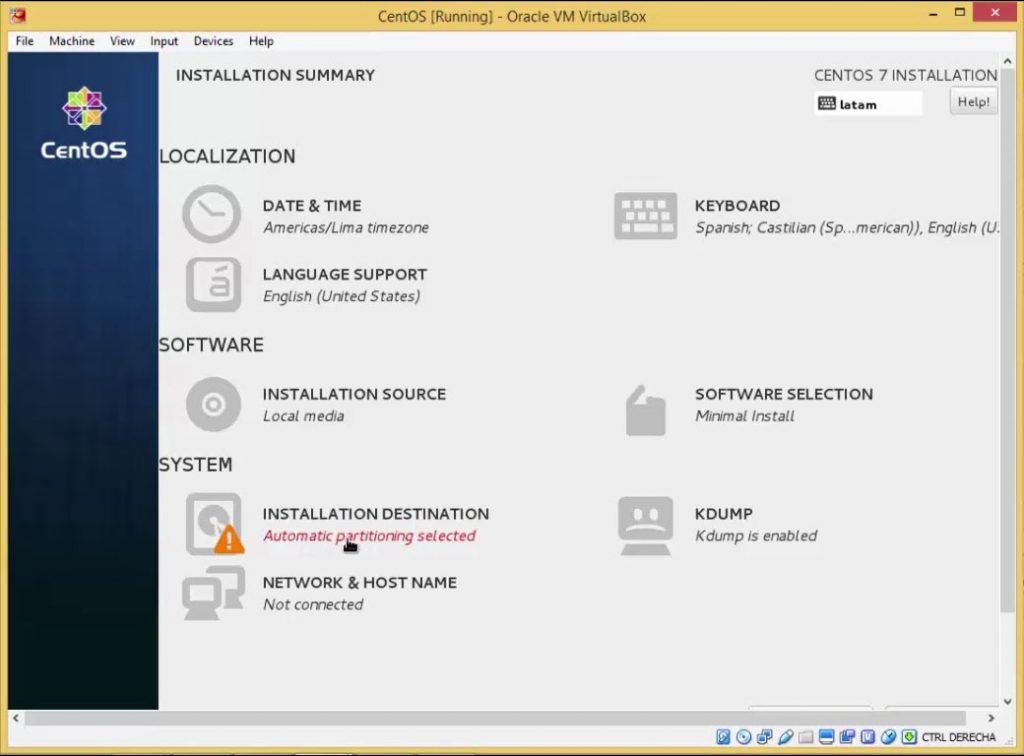
Merhabalar, bu ilk yazımda Centos 7 Server üzerine Open VPN Server kurulum ve yapılandırmasını, Windows 10 üzerine de Open VPN Client kurulum ve yapılandırmasını anlatacağım. Başlamadan önce Centos 7 Minimal kurulumunu yapmanızı öneririm.

Centos 7 Server kurulumu tamamlandığında sunucumuzu reboot ediyoruz.
reboot now
Sunucumuz tekrar başladığında,
yum -y update
ile sunucumuzu en güncel hale getiriyoruz. Bu işlem bittiğinde complete yazısını göreceksiniz. Ardından,
reboot now
ile sunucuyu yeniden başlatıyoruz.
Sunucumuz tekrar başladığında,
yum -y install epel-release
ile epel kütüphanesi sistemimize ekledikten sonra
yum -y update
ile tekrar update edip
reboot now
ile sunucuyu yeniden başlatıyoruz.
1. Adım: Open VPN Kurulumu
yum install openvpn openssl
2. Adım: Sunucu SSL Sertifikalarının Oluşturulması
Şimdi sunucumuzda kullancağımız SSL için CA (Certificate Authority – Sertifika Yetkilisi) sertifikası oluşturacağız.
openssl dhparam -out /etc/openvpn/dh.pem 2048 - Bu Biraz Uzun Sürecektir
openssl genrsa -out /etc/openvpn/ca.key 2048
chmod 600 /etc/openvpn/ca.key
openssl req -new -key /etc/openvpn/ca.key -out /etc/openvpn/ca.csr -subj /CN=OpenVPN-CA/
openssl x509 -req -in /etc/openvpn/ca.csr -out /etc/openvpn/ca.crt -signkey /etc/openvpn/ca.key -days 365
echo 01 > /etc/openvpn/ca.srl
CA Sertifikamızı oluşturduk. Şimdi sunucu sertifikalarını oluşturmaya başlayabiliriz.
openssl genrsa -out /etc/openvpn/server.key 2048
chmod 600 /etc/openvpn/server.key
openssl req -new -key /etc/openvpn/server.key -out /etc/openvpn/server.csr -subj /CN=OpenVPN/
openssl x509 -req -in /etc/openvpn/server.csr -out /etc/openvpn/server.crt -CA /etc/openvpn/ca.crt -CAkey /etc/openvpn/ca.key -days 365
3. Adım: OpenVPN Konfigürasyonu
vi /etc/openvpn/server.conf
Benim konfigürasyon dosyam
server 192.168.100.0 255.255.255.0 #Bu OpenVPN tarafından oluşturulacak olan tun0 adlı sanal ağ bağdaştırıcısının adresidir. Sizin herhangi bir şekilde ağınızla alakalı olarak bir oynama yapmanıza gerek yoktur.
verb 3
key /etc/openvpn/server.key
ca /etc/openvpn/ca.crt
cert /etc/openvpn/server.crt
dh /etc/openvpn/dh.pem
tls-auth ta.key 0 #Eğer Hata Alırsanız: openvpn --genkey --secret /etc/openvpn/ta.key komutunu çalıştırın.
keepalive 10 120
persist-key
persist-tun
comp-lzo
push "redirect-gateway autolocal"
push "dhcp-option DNS 8.8.8.8"
push "dhcp-option DNS 8.8.4.4"

user nobody
group nogroup #Eğer Hata Alırsanız: groupadd nogroup komutunu çalıştırın.

proto udp
port 1194
dev tun0
status openvpn-status.log
log-append /var/log/openvpn.log
4. Adım: Firewall – IpTables ve SELinux Yapılandırması
systemctl disable firewalld
yum remove firewalld
yum install iptables-services
Bu işlemleri tamamladıktan sonra SELinux’ü kapatacağız.
vi /etc/sysconfig/selinux
# This file controls the state of SELinux on the system.
# SELINUX= can take one of these three values:
#       enforcing - SELinux security policy is enforced.
#       permissive - SELinux prints warnings instead of enforcing.
#       disabled - No SELinux policy is loaded.
SELINUX=disabled
# SELINUXTYPE= can take one of these two values:
#       targeted - Targeted processes are protected,
#       mls - Multi Level Security protection.
SELINUXTYPE=targeted
Kaydedip vi’den çıkıyoruz. Sonra tekrar reboot edip sunucuyu son kez yeniden başlatıyoruz.
reboot now
Şimdi sıra geldi IpTables ayarlarına.
vi /etc/sysconfig/iptables
-A FORWARD -j ACCEPT
-A INPUT -p udp -m udp --dport 1194 -j ACCEPT
-A POSTROUTING -s 192.168.100.0/24 -j SNAT --to-source SUNUCU_WAN_IP #eğer sunucunuz localde ise sunucunun local ip si 192.168.1.1 gibi
Kaydedip çıkıyoruz.
systemctl enable iptables
systemctl start iptables
systemctl status iptables
Status olarak active yazısını görmelisiniz
iptables.service - IPv4 firewall with iptables
   Loaded: loaded (/usr/lib/systemd/system/iptables.service; enabled; vendor preset: disabled)
   Active: active (exited) since Wed 2018-03-14 22:53:44 UTC; 11h ago
 Main PID: 9427 (code=exited, status=0/SUCCESS)
   CGroup: /system.slice/iptables.service

Mar 14 22:53:44 proxy systemd[1]: Starting IPv4 firewall with iptables...
Mar 14 22:53:44 proxy iptables.init[9427]: iptables: Applying firewall rules: [  OK  ]
Mar 14 22:53:44 proxy systemd[1]: Started IPv4 firewall with iptables.
Şimdi sistemin ip forward yapmasını sağlayacağız.
sysctl -w net.ipv4.ip_forward=1
5. Adım: OpenVpn serverımızı çalıştırabiliriz 🙂
systemctl enable openvpn@server
systemctl start openvpn@server
systemctl status openvpn@server
openvpn@server.service - OpenVPN Robust And Highly Flexible Tunneling Application On server
   Loaded: loaded (/usr/lib/systemd/system/openvpn@.service; enabled; vendor preset: disabled)
   Active: active (running) since Wed 2018-03-14 19:53:46 UTC; 14h ago
 Main PID: 6000 (openvpn)
   Status: "Initialization Sequence Completed"
   CGroup: /system.slice/system-openvpn.slice/openvpn@server.service
           `-6000 /usr/sbin/openvpn --cd /etc/openvpn/ --config server.conf

Mar 14 19:53:46 proxy systemd[1]: Starting OpenVPN Robust And Highly Flexible Tunneling Application On server...
Mar 14 19:53:46 proxy systemd[1]: Started OpenVPN Robust And Highly Flexible Tunneling Application On server.
Harika sunucumuz sorunsuz çalışıyor. Bundan sonra client ayarlarını yapacağız. Öncelikle client için sertifikaları oluşturmamız gerekiyor.
6. Adım Client Ayarları
openssl genrsa -out /etc/openvpn/client.key 2048
chmod 600 /etc/openvpn/client.key
openssl req -new -key /etc/openvpn/client.key -out /etc/openvpn/client.csr -subj /CN=OpenVPN-Client/
enssl x509 -req -in /etc/openvpn/client.csr -out /etc/openvpn/client.crt -CA /etc/openvpn/ca.crt -CAkey /etc/openvpn/ca.key -days 365
Bu işlemleri tamamladıktan sonra oluşan dosyaları download ediyoruz.
/etc/openvpn/ca.crt
/etc/openvpn/client.crt
/etc/openvpn/client.key
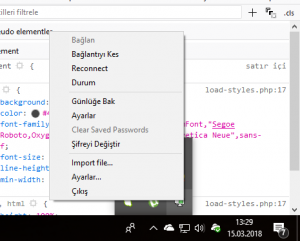
OpenVPN’in kendi sitesinde client programını şu adresten indirip kuruyoruz. Kurulum tamamlandıktan sonra programı çalıştırıyoruz. Program kendini taskbara atacaktır. Orada üzerine sağ tuş tıklayarak çıkış butonun üzerindeki ayarlar butonuna basıyoruz.
Karşımıza çıkan penceredeki Advanced sekmesinde bulunan folder yolu client config dosyasının yoludur. Dilediğiniz gibi değiştirebilirsiniz. Biz default olanı kullanmaya devam edeceğiz.
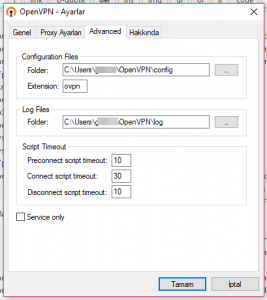
Biraz önce indirdiğimiz sertifika dosyalarını bu klasöre taşıyoruz/kopyalıyoruz. Bu işlemin ardından klasörün içine


client.ovpn
adında bir dosya oluşturarak dosyanın içerisine tanımlarımızı yapıyoruz. Benim client.ovpn dosyamın içeriği şu şekilde.
client
dev tun0
proto udp
remote SUNUCU_IP_ADRESI 1194 #adresleri kendi bilgisayarınıza göre ayarlamayı unutmayın
push "redirect-gateway autolocal"
resolv-retry infinite
nobind
persist-key
persist-tun
ca C:\\Users\\user\\OpenVPN\\config\\ca.crt #adresleri kendi bilgisayarınıza göre ayarlamayı unutmayın
cert C:\\Users\\user\\OpenVPN\\config\\client.crt #adresleri kendi bilgisayarınıza göre ayarlamayı unutmayın
key C:\\Users\\user\\OpenVPN\\config\\client.key #adresleri kendi bilgisayarınıza göre ayarlamayı unutmayın
tls-auth ta.key 1
ns-cert-type server
cipher BF-CBC
comp-lzo
verb 3
Kaydedip çıkıyoruz. Yine taskbarda bulunan OpenVPN ikonuna sağ tıklayıp bağlan diyerek bağlanıyoruz.
İyi günlerde kullanmanız dileği ile.
Not: Takıldığınız veya hata aldığınız yerler var ise buradan yardımcı olmaya çalışacağım.